 how-to
How to Prepare Your Home for Electrical Inspection
Table of Contents
- Why Preparing for Your Electrical Inspection Matters
- Home Electrical Inspection Checklist: What to Gather Before Inspection Day
- What to Expect During a Home Electrical Inspection
- Rough Electrical Inspection Checklist for New Construction or Renovations
- How Long Does an Electrical Inspection Take
- Preparing Your Home: Step-by-Step Action Plan
- What Homeowners Should Not Attempt to Fix Before Inspection
- What to Do After Your Electrical Inspection Report
- Frequently Asked Questions
Last Updated: October 11, 2026
Why Preparing for Your Electrical Inspection Matters
An electrical inspection identifies hazards that could cause fires, shocks, or equipment damage.
A well-prepared home gives inspectors clear access to your electrical system, allowing them to complete their work efficiently and catch real problems instead of wasting time searching for access points.
The inspection covers your entire electrical system: service panel, wiring, outlets, switches, protective devices, and grounding. Preparation avoids surprises or delays that could derail a real estate transaction or renovation timeline.
Home Electrical Inspection Checklist: What to Gather Before Inspection Day
Documents and Records to Collect
Collect these documents:
- Permits and inspection reports from past electrical work
- Receipts for panel upgrades, rewiring, or major repairs
- Service records from your utility company
- Building permits from renovations or additions
- Photos of any electrical work completed in the last 5-10 years
- Manufacturer documentation for your electrical panel and service equipment
If you've had work done without permits, tell the inspector. Unpermitted work may need to be brought up to current code. It's better to disclose this upfront than have the inspector discover it during the inspection.
Access and Safety Preparation
Clear at least 3 feet of space around your electrical panel. Remove boxes, storage items, furniture, or anything blocking access.
Ensure the inspector can reach your main electrical panel, meter and service wires, all outlets and switches, any subpanels, and your grounding connection.
Disable alarms or security systems before the inspector opens the panel. Secure pets in another room. Ensure garages and basements with electrical equipment are clear and accessible.
What to Expect During a Home Electrical Inspection
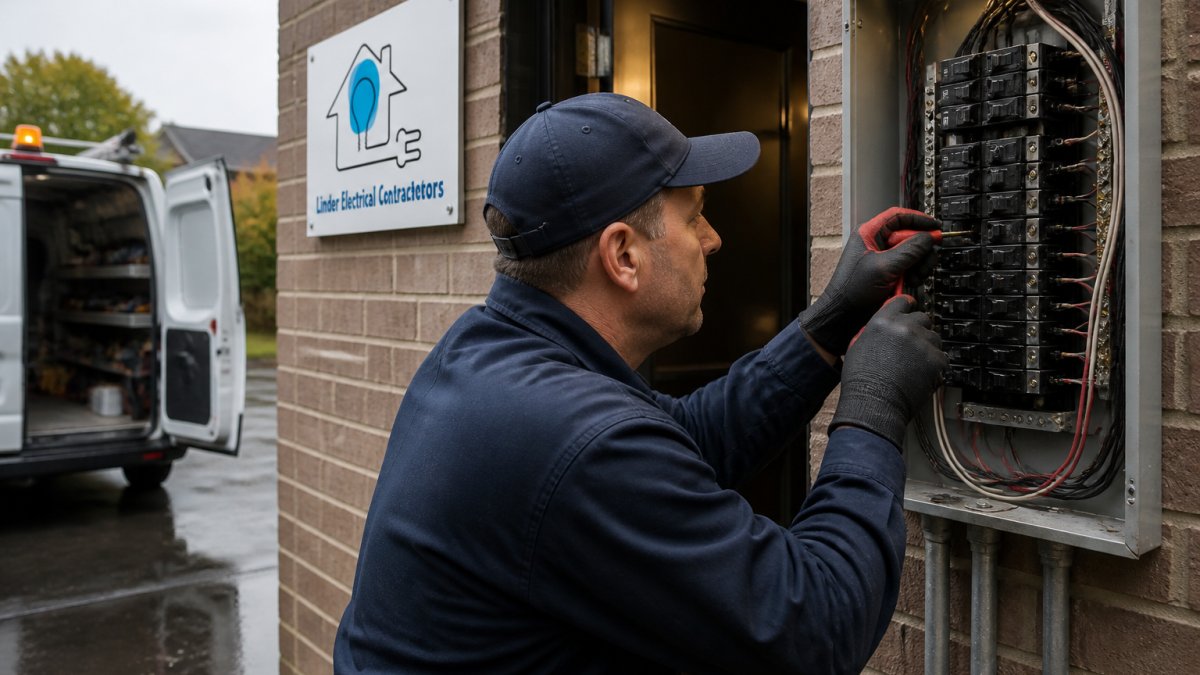
Visual Examination of Your Electrical Panel and Service Equipment
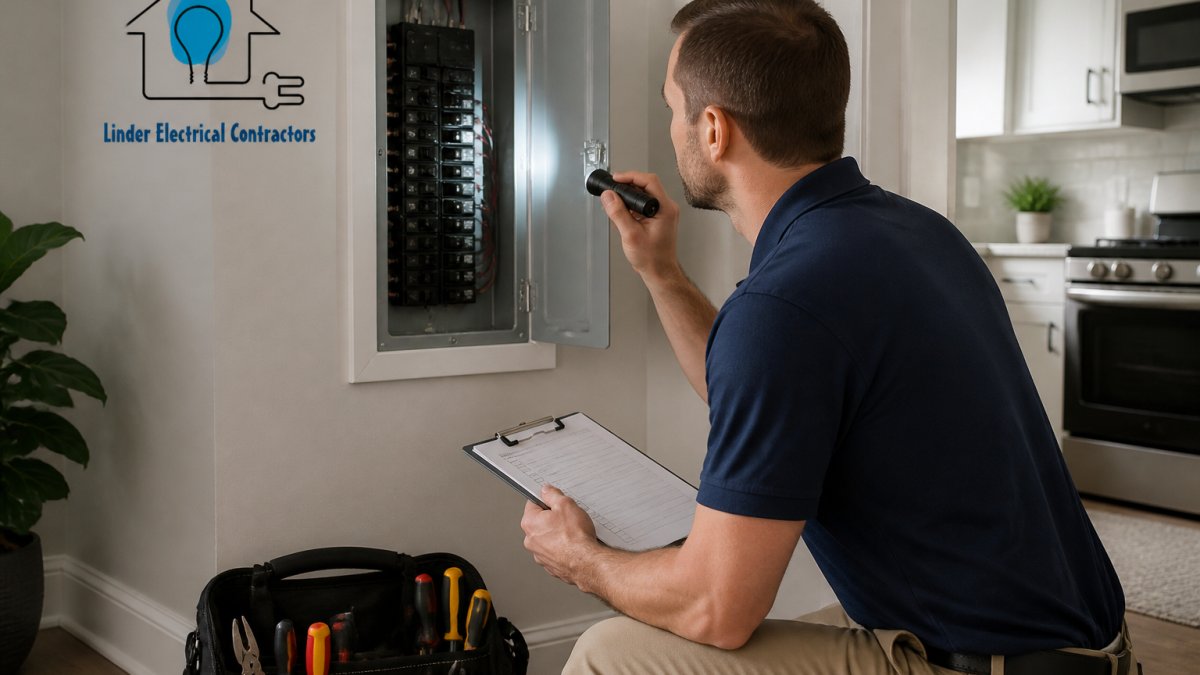
The inspector examines your electrical panel (service panel or panelboard), checking its age, condition, and whether it matches your home's electrical demand.
The inspector checks for corrosion, rust, water damage, improper connections, signs of fires or arcing, circuit breaker condition, circuit labeling, and adequate amperage. They also inspect your service entrance and service wires for proper grounding and bonding.
Testing Outlets, Switches, and Protective Devices
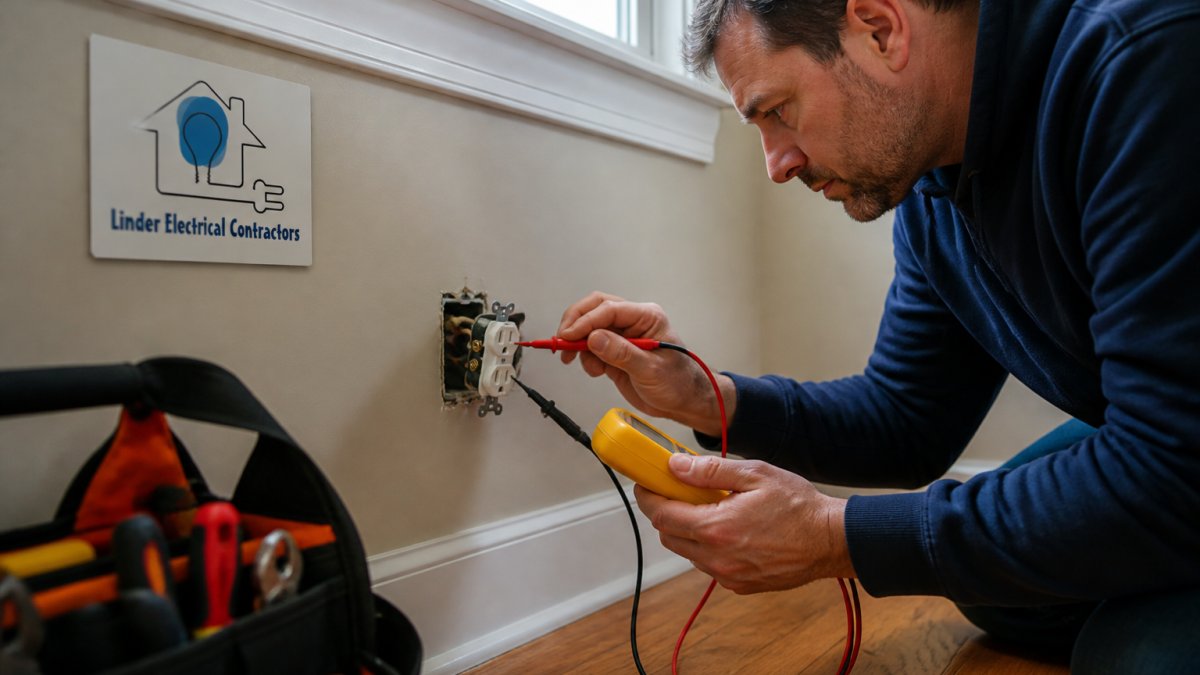
The inspector tests outlets and switches throughout your home, verifying that power reaches each outlet and switches control the right fixtures.
Key tests include checking GFCI (ground fault circuit interrupter) protection in bathrooms, kitchens, and outdoor areas; testing AFCI (arc fault circuit interrupter) protection on bedroom circuits; verifying proper grounding; confirming switches operate fixtures correctly; and inspecting visible wiring for damage.
Rough Electrical Inspection Checklist for New Construction or Renovations
For new construction or major renovations, a rough electrical inspection occurs before walls are closed to verify that wiring, conduit, and boxes are installed correctly.
Ensure all wiring is properly sized, boxes installed at correct height and spacing, conduit properly secured, grounding conductors in place, service entrance and panel correctly installed, circuits properly labeled, and bonding straps in place. After the rough inspection passes, you can close walls and proceed with finishing work.
How Long Does an Electrical Inspection Take
A typical home electrical inspection takes 1 to 3 hours, depending on home size and electrical system complexity. Smaller homes may take 1 hour; larger homes with multiple panels or known issues may take 2 to 3 hours or longer.
Inspection-Day Logistics and Access Preparation
Provide access to all restricted areas: attics, crawlspaces, basements, utility rooms, locked electrical closets, exterior service line entry points, and secondary panels.
Secure pets and disable alarms. Confine pets to a room away from the inspection area.
Ensure adequate lighting. Ensure basements, attics, and crawlspaces have working lights to speed up the inspection process.
Prepare documentation and a list of concerns. Organize permits, prior inspection reports, and service records. Prepare a written list of electrical issues (dead outlets, flickering lights, tripped breakers, warm switches) so the inspector can prioritize their examination.
Know the inspection type and scope. Pre-purchase inspections examine the entire system for safety and code compliance. Rough inspections focus on wiring, boxes, and panel installation before walls close.
Preparing Your Home: Step-by-Step Action Plan
Step 1: Clear Access to Your Electrical Panel
Your electrical panel is the most important component the inspector examines. Clear at least 3 feet of space in front of the panel door.
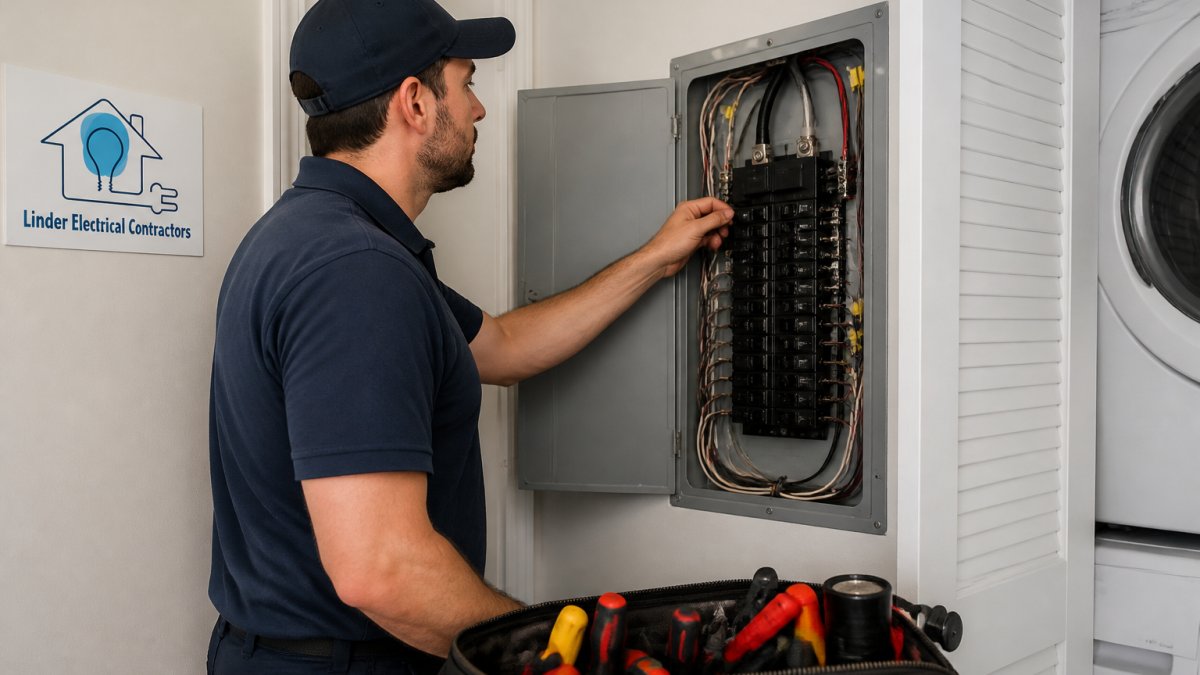
If your panel is in a basement, garage, or utility closet, make sure the entire room is accessible. Move boxes, tools, or seasonal items to another location.
Check that the panel door opens easily. If it's stuck or painted shut, carefully work it loose before the inspection. Don't force it, you could damage the panel.
Step 2: Document Electrical Issues and Concerns
Document electrical problems you've noticed: dead outlets, flickering lights, warm or discolored outlets, buzzing sounds, repeated tripped breakers, or shocks. Give this list to the inspector at the start to help them prioritize their examination.
Step 3: Test All Outlets, Switches, and Fixtures
Test every outlet by plugging in a lamp or phone charger. Flip every switch to confirm it controls the right fixture. Note which outlets don't work and which switches are loose or unresponsive. Check that outlets have power in all rooms, switches control intended fixtures, lights turn on and off smoothly, and no outlets feel warm or are cracked or damaged.
Step 4: Identify Any Visible Wiring or Connection Problems
Look for exposed wiring, damaged insulation, or loose connections in basements, garages, or attics. Watch for wires hanging loose, damaged insulation, improper routing, improper connections, or undersized wires. Don't touch or move any wiring yourself; just note what you see and point it out to the inspector.
What Homeowners Should Not Attempt to Fix Before Inspection
Don't repair electrical problems yourself before the inspection. Never open your electrical panel, replace outlets or switches, rewire circuits, install GFCI or AFCI outlets, or work on grounding or bonding connections. Electrical work carries serious risks. If a problem is dangerous, exposed wiring or burning smell, turn off power to that circuit and call a licensed electrician immediately.
What to Do After Your Electrical Inspection Report
Once the inspection is complete, you'll receive a detailed report listing findings organized by severity: major safety risks or code violations, minor issues, observations about overall condition, and repair recommendations. Review the report carefully and ask the inspector to explain any findings you don't understand.
Understanding and Prioritizing Deficiencies
Immediate safety hazards require urgent attention: exposed or damaged wiring, burning smells or scorch marks, improper grounding, missing GFCI protection, outdated or recalled panels (Federal Pacific Electric or Zinsco), overloaded circuits, or unpermitted work.
Code violations and safety concerns should be addressed within 30 to 90 days:
- Missing AFCI protection on bedroom circuits
- Outdated wiring methods or materials no longer approved by code
- Improper outlet spacing or height
- Missing or inadequate bonding straps on metal components
- Substandard panel labeling or circuit organization
These don't pose immediate danger but indicate the system doesn't meet current electrical code. Repair timelines depend on your situation: if you're buying, negotiate with the seller to complete repairs before closing.
Observations and recommendations are informational:
- Aging but functional components that may need replacement in 5-10 years
- Suggestions for upgrades (such as adding circuits for new appliances)
- Notes about the overall condition of the system
These don't require immediate action but help you plan future maintenance or upgrades.
Obtaining Repair Quotes and Permits
For any deficiency requiring repair, get written estimates from at least two licensed electricians. Provide each electrician with a copy of the inspection report so they understand the scope of work.
Most electrical repairs require a permit from your local building department. Permitted work includes:
- Panel upgrades or replacements
- Adding new circuits or subpanels
- Rewiring sections of the home
- Installing GFCI or AFCI outlets
- Grounding or bonding repairs
- Service entrance upgrades
Unpermitted electrical work can create liability issues, complicate future home sales, and void insurance coverage if an electrical fire occurs. Licensed electricians handle permit applications as part of their service.
After repairs are completed, the electrician schedules a final inspection with the building department. The inspector verifies that work meets code and that all permits are closed.
Managing the Repair Timeline
If you're buying a home, use the inspection report to negotiate repairs with the seller. You have several options:
- Request seller repairs: Ask the seller to hire a licensed electrician and complete repairs before closing. This is the cleanest approach, you move into a home with no known deficiencies.
- Request a credit: Ask the seller for a credit equal to the repair cost, then hire your own electrician after closing. This gives you control over the contractor and work quality.
- Request a price reduction: Negotiate a lower purchase price to account for repairs you'll handle yourself.
If the seller refuses to repair major safety issues, you may have grounds to renegotiate the purchase price or walk away, depending on your state's disclosure laws and the severity of deficiencies.
If you're selling, address major deficiencies before listing. Homes that pass inspection without significant electrical issues sell faster and command higher prices.
If you're maintaining your own home, prioritize repairs by safety risk and cost. Get a licensed electrician to handle all work, and ensure permits are obtained and final inspections are completed.
Documenting Completed Work
Keep detailed records of all electrical repairs and upgrades:
- Permits and inspection certificates: File these with your home records. They prove the work was done legally and to code.
- Electrician invoices and warranties: Save receipts showing what was repaired, the cost, and any warranty on parts or labor.
- Before-and-after photos: Document the condition before repair and the completed work. This is useful for insurance claims or future home sales.
- Permit closure letters: After the building department's final inspection, you'll receive a letter confirming the permit is closed. Keep this permanently.
When you sell your home, provide the buyer's inspector with copies of all permits and completion certificates for electrical work done in the past 5-10 years. This demonstrates that work was done properly and increases buyer confidence.
If you're unable to complete repairs immediately, document the deficiencies and your repair plan. This shows good faith effort and protects you if an electrical issue occurs before repairs are finished.
Frequently Asked Questions
How do I prepare my home for an electrical inspection?
Start by gathering all documentation related to your electrical system, including permits and previous inspection reports. Clear the area around your electrical panel so the inspector has safe access. Document any electrical issues you've noticed, such as flickering lights or dead outlets. Test all outlets and switches to identify problems beforehand. Finally, ensure your home is accessible and that you or a representative can be present during the inspection to answer questions about the electrical system and any recent work.
What should I expect during a home electrical inspection?
The inspector will examine your electrical panel, service entrance, and circuit breakers to verify proper sizing and condition. They will test outlets, switches, and fixtures throughout your home using specialized equipment. The inspector checks for proper grounding and bonding, GFCI and AFCI protection in required locations, and signs of damaged or exposed wiring. They evaluate whether your electrical system meets current safety standards and can handle your home's electrical demand. The entire process typically takes 1-3 hours depending on your home's size and complexity.
How long does a residential electrical inspection take?
Most residential electrical inspections take between 1 and 3 hours. A smaller home or condo may be inspected in 1-1.5 hours, while a larger multi-story home typically requires 2-3 hours. The duration depends on the home's age, size, complexity of the electrical system, and the number of circuits and outlets to evaluate. If the inspector discovers significant issues or needs to investigate potential hazards more thoroughly, the inspection may take longer. Plan to have access to your home for at least 3-4 hours to account for setup and any follow-up questions.
What should I do if an electrical inspection finds problems?
Request a detailed written report that identifies each deficiency and explains the safety risk or code violation. Do not attempt to repair electrical issues yourself, as improper repairs can create fire or shock hazards. Contact a licensed electrician to evaluate the problems and provide repair estimates. Prioritize urgent safety issues such as exposed wiring, overloaded circuits, or missing GFCI protection. Work with your electrician to schedule repairs and arrange for a follow-up inspection to verify that corrections meet electrical code requirements. If you're selling your home, provide the inspection report to the buyer and disclose all repairs made.